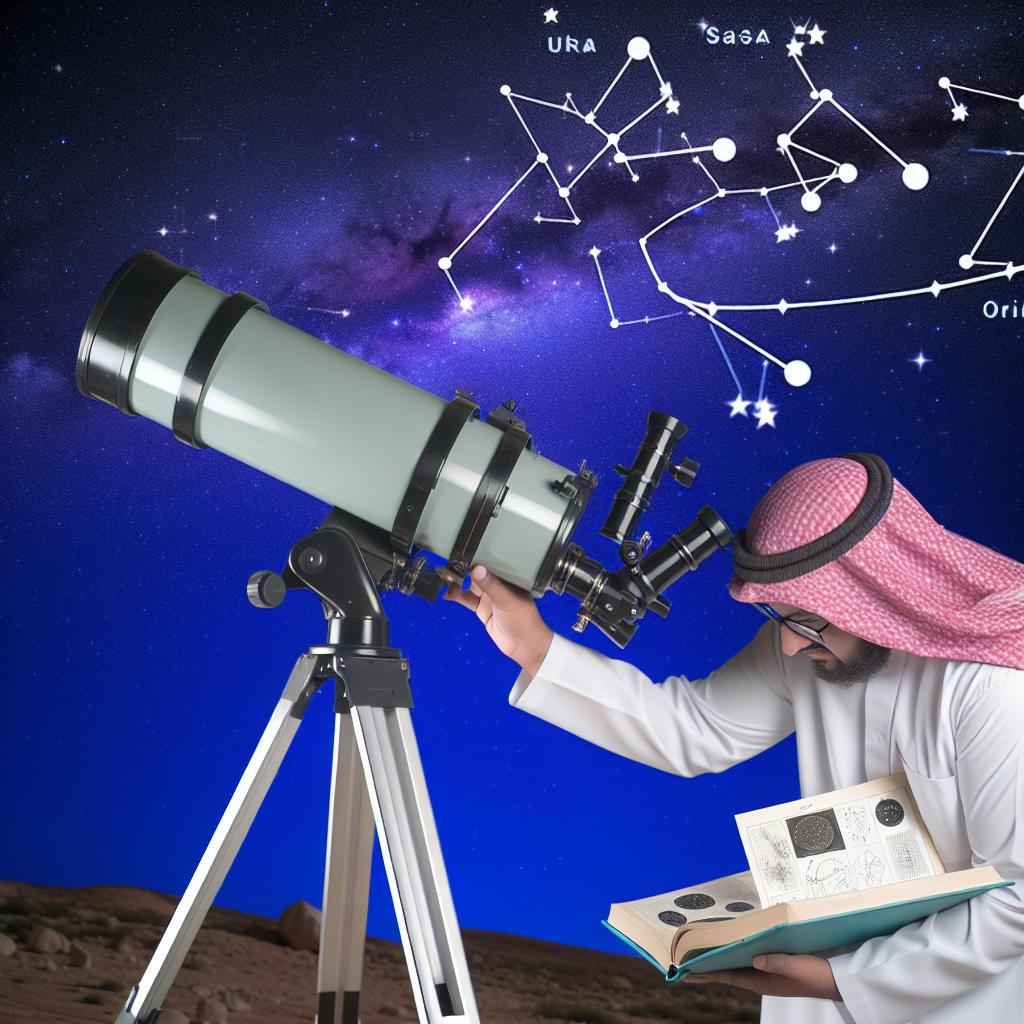
Understanding Telescope Alignment
Accurate alignment of your telescope with the night sky is essential for observing celestial objects effectively. Proper alignment ensures that you’re able to track stars, planets, and other astronomical phenomena efficiently over time. This process involves setting up your telescope and calibrating it in response to the night sky’s movements. In this guide, we’ll explore the comprehensive steps necessary for achieving effective alignment, enhancing your stargazing experience.
Selecting the Right Equipment
Selecting the correct equipment is the foundation of successful telescope alignment. Telescopes typically fall under three primary categories, each offering distinct features that influence the alignment process:
Refractor Telescopes: Known for their simple design, refractors use lenses to gather and focus light. They are excellent for viewing celestial objects like planets and the Moon due to their sharp and high-contrast images.
Reflector Telescopes: Instead of lenses, reflector telescopes utilize mirrors to collect and focus light. These are often favored for deep-sky observations, providing excellent light-gathering capabilities to view faint objects like galaxies and nebulae.
Compound Telescopes: Combining elements of both refractors and reflectors, compound telescopes, such as Schmidt-Cassegrain and Maksutov-Cassegrain designs, offer versatility and portability, making them suitable for various observing purposes.
In addition to choosing the right telescope type, having a sturdy mount to support your telescope is crucial. Moreover, an appropriate finderscope or a laser pointer can greatly assist in the alignment process.
Choosing a Mount
The mount is a critical component in the alignment process, affecting how smoothly you can track celestial objects. The two main types of telescope mounts to consider are:
Altazimuth Mount: Simple and intuitive, altazimuth mounts facilitate movement along both horizontal and vertical axes. They are suitable for beginners due to ease of setup and use, making them ideal for casual observations.
Equatorial Mount: This type of mount is more complex but offers enhanced tracking capabilities by aligning with the Earth’s axis. It enables smoother and more accurate tracking of objects as they traverse the night sky, proving beneficial for prolonged observational sessions and astrophotography.
Initial Setup and Calibration
Once you’ve selected your equipment, setting up the telescope correctly is the next vital step. Begin by positioning your telescope on a stable surface, ideally in an area with minimal light pollution. This helps ensure that faint celestial objects remain visible with clarity. Secure your tripod or base to prevent any unwanted movement during observation.
Aligning the Finderscope
Aligning the finderscope, the smaller telescope mounted on the main telescope, is crucial. It provides a wider field of view, aiding in locating celestial objects more easily. During daylight, point the main telescope at a distant, stationary object. Adjust the finderscope until this object is centered in both the finderscope’s and the main telescope’s view. This allows for an accurate initial alignment, streamlining the nighttime observing process.
Polar Alignment (for Equatorial Mounts)
For users of equatorial mounts, polar alignment is a key step. It involves aligning the telescope’s axis of rotation parallel to the Earth’s axis. For observers in the Northern Hemisphere, this starts with finding the North Star, or Polaris, serving as a guidepost for alignment. Adjust your mount so that Polaris is centered in the field of view of the finderscope or eyepiece. In the Southern Hemisphere, aligning polar axes can be more challenging due to the absence of a direct equivalent to Polaris, often requiring the use of constellation markers and additional equipment for precise alignment.
Finalizing the Alignment
With your initial setup and calibration complete, refine your telescope’s alignment using digital tools, if available. Many modern telescopes come equipped with computerized or GoTo systems, enhancing the alignment process. These systems typically require you to input your location, current time, and date, automatically adjusting the telescope to the celestial coordinate system.
Star Alignment
For telescopes with advanced features, star alignment is often the next step. This process involves selecting a few bright stars from a predetermined list and aligning your telescope to each one in succession. Such alignment allows the telescope’s computer to calibrate and adjust for any inaccuracies, providing precise tracking and viewing of celestial objects.
Practical Tips
Achieving stable and correct alignment can seem daunting, particularly for beginners. Here are some practical tips to facilitate the process:
Maintain Your Equipment: Ensure that your optical elements are clean and well-maintained to avoid any visual distortions during observation.
Practice Patience: Alignment can be a trial-and-error process requiring patience and practice. Each attempt enhances your skills and familiarity with the equipment.
Utilize Additional Accessories: If your telescope is capable, use additional lenses or filters to improve your viewing experience, especially when observing detailed astronomical phenomena.
By following these detailed steps, you can effectively align your telescope with the night sky, enhancing your astronomical observations. Proper alignment ensures you can explore the wonders of our universe with greater clarity and precision, making each stargazing session a rewarding experience.
This article was last updated on: August 21, 2025


